
🌐 English · 中文
"Writing in VS Code was painful. Why cannot we only focus on typing? Here I am"







Edit MyST Markdown (.md) in VS Code's notebook editor. Prose renders in place as you type, math renders inline with KaTeX, and {code-cell} blocks run through Jupyter — all in one pane, no separate preview, no build step.
Install · Features · Zotero · Shortcuts · Structure
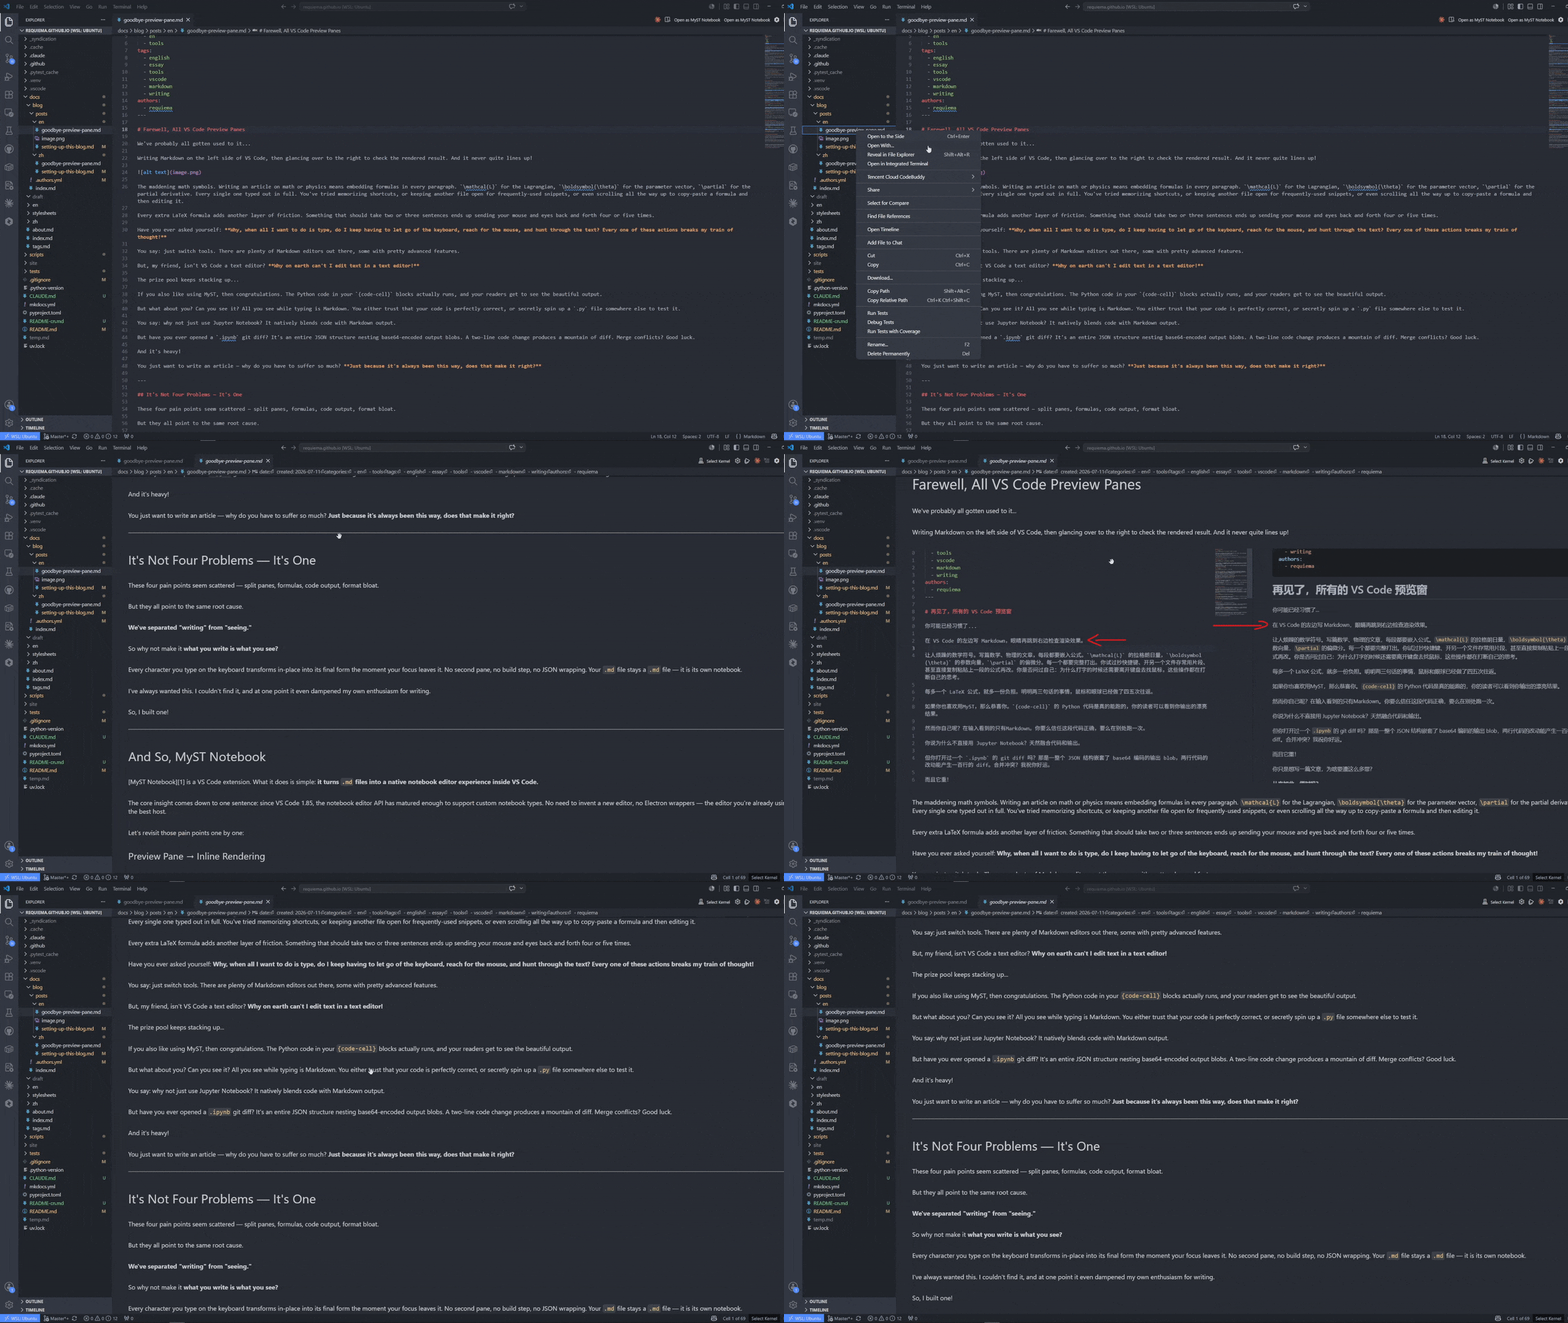
Install from the VS Code Marketplace, open a MyST .md, and start writing.
- Install MyST Notebook from the VS Code Marketplace
- Open a
.mdfile in a MyST / Jupyter Book project (one with amyst.yml) - Click Open as MyST Notebook in the editor toolbar, or right-click the tab → Reopen Editor With… → MyST Notebook
To make MyST Notebook the default for .md files: Command Palette → Configure default editor for '.md' → MyST Notebook.
Requirements: VS Code 1.85+ · Python extension (for code execution) · A Python environment (optional — editing and rendering work without one)
| Capability | What it does | How to use |
|---|---|---|
| Inline rendering | Prose and math ($…$, $$…$$) render in place when you move focus |
Just type, then move to another cell |
::: directive rendering |
Admonitions (:::{note}, :::{warning}, :::{tip}, :::{danger}, etc.) render inline with colored borders, icons, and full markdown body content |
Type :::{note} then your content, close with ::: |
| Executable code cells | {code-cell} blocks run through Jupyter, output streams live |
Ctrl+Shift+E to insert, Shift+Enter to run, or click ▶ Run on the cell |
| ▶ Run button | Every code cell has a ▶ Run button at its bottom-right corner that shows ⏳ Running... while the cell executes |
Click ▶ Run to execute that cell |
| Quick-edit | Switching to a markup cell auto-enters edit mode | Click a different cell, or press Enter on the current one |
| Knowledge graph | [[wikilinks]], backlinks, and a D3 force graph — MyST-aware, including {cite} roles as nodes |
Ctrl+Shift+G to open the graph |
| Zotero citations | Insert {cite} references from your Zotero library, one command to configure |
Run MyST: Configure Zotero Citations, then Alt+Shift+Z |
| Math palette | Collect frequently-used LaTeX symbols (persisted to .vscode/myst-symbols.json), insert with hotkeys |
Type \ inside $…$ or $$…$$ for autocomplete, or Ctrl+Shift+M for the picker |
| Auto-split | Press Enter at end of a paragraph → new cell below, cursor ready | Just press Enter after finishing a paragraph |
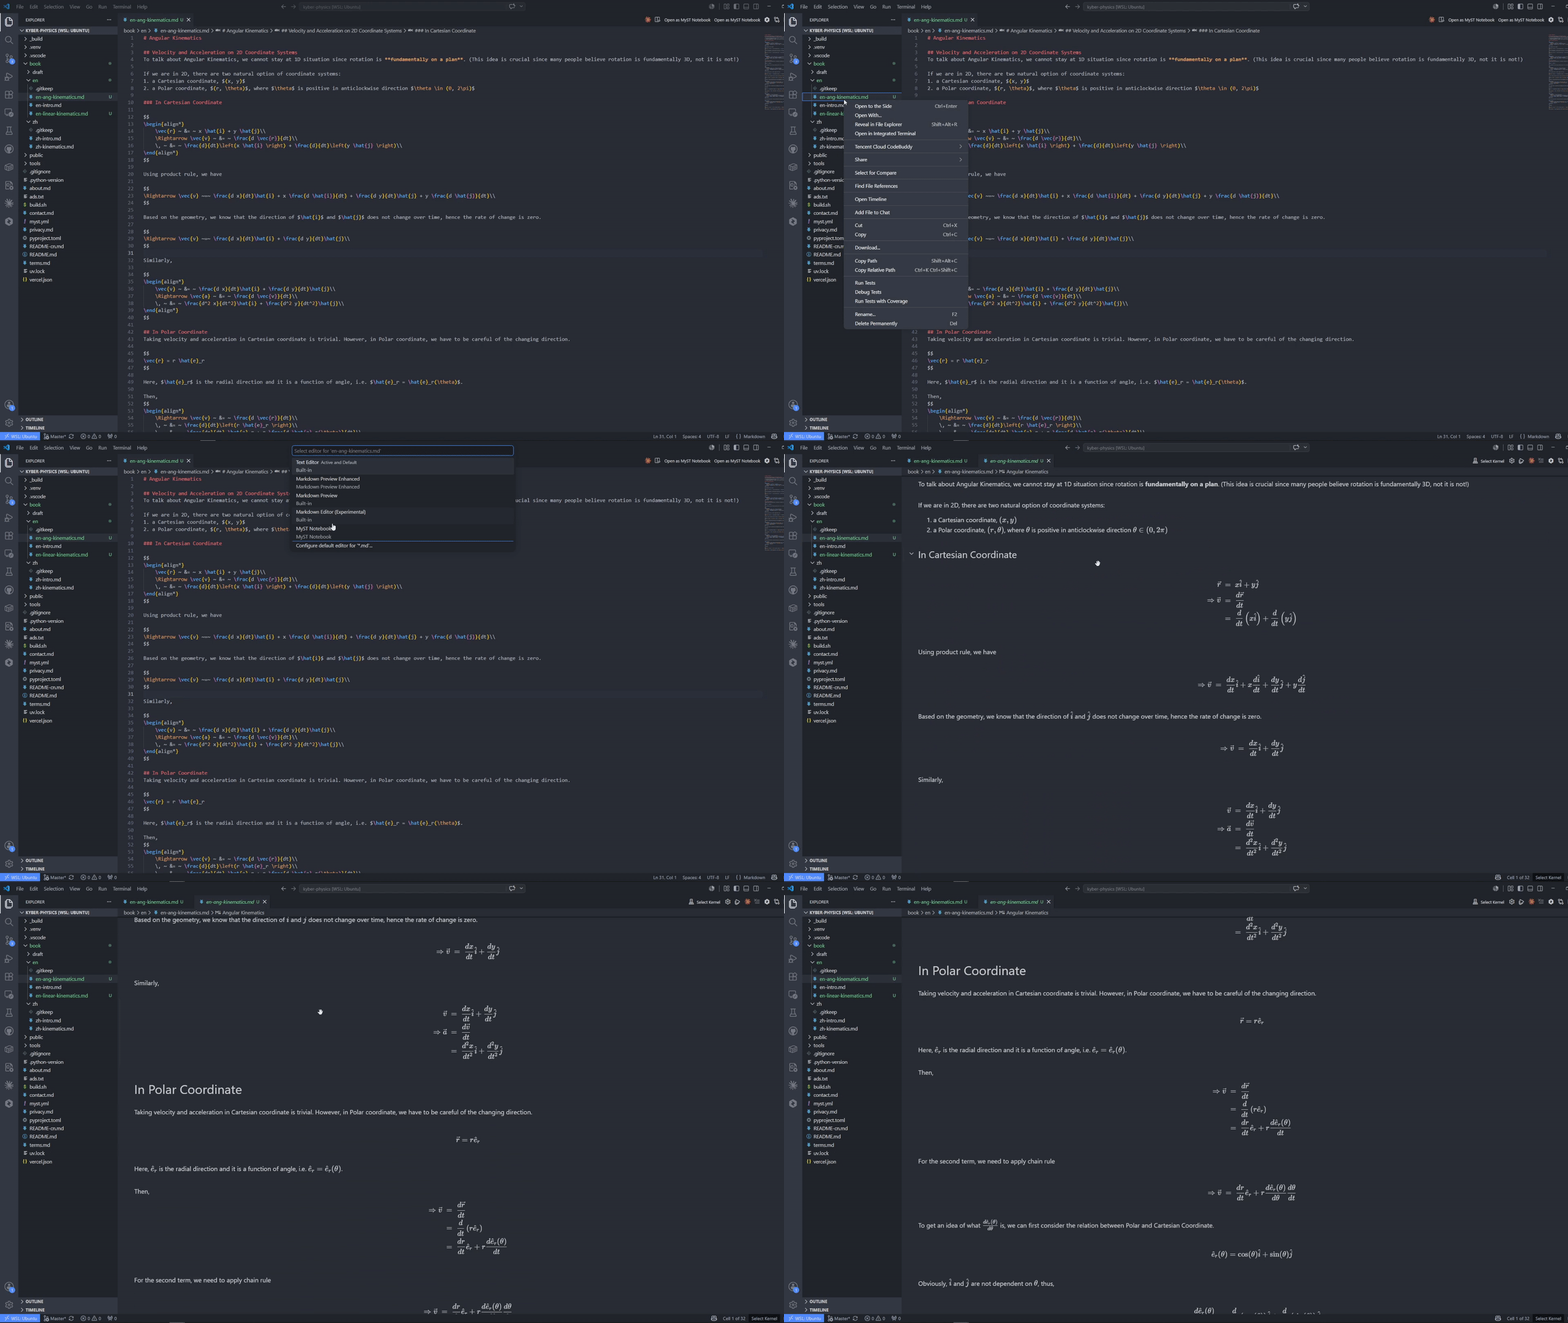
Prose and math render when you leave a cell. Auto-split creates new cells as you write — no mouse, no toolbar, no modal dialogs.
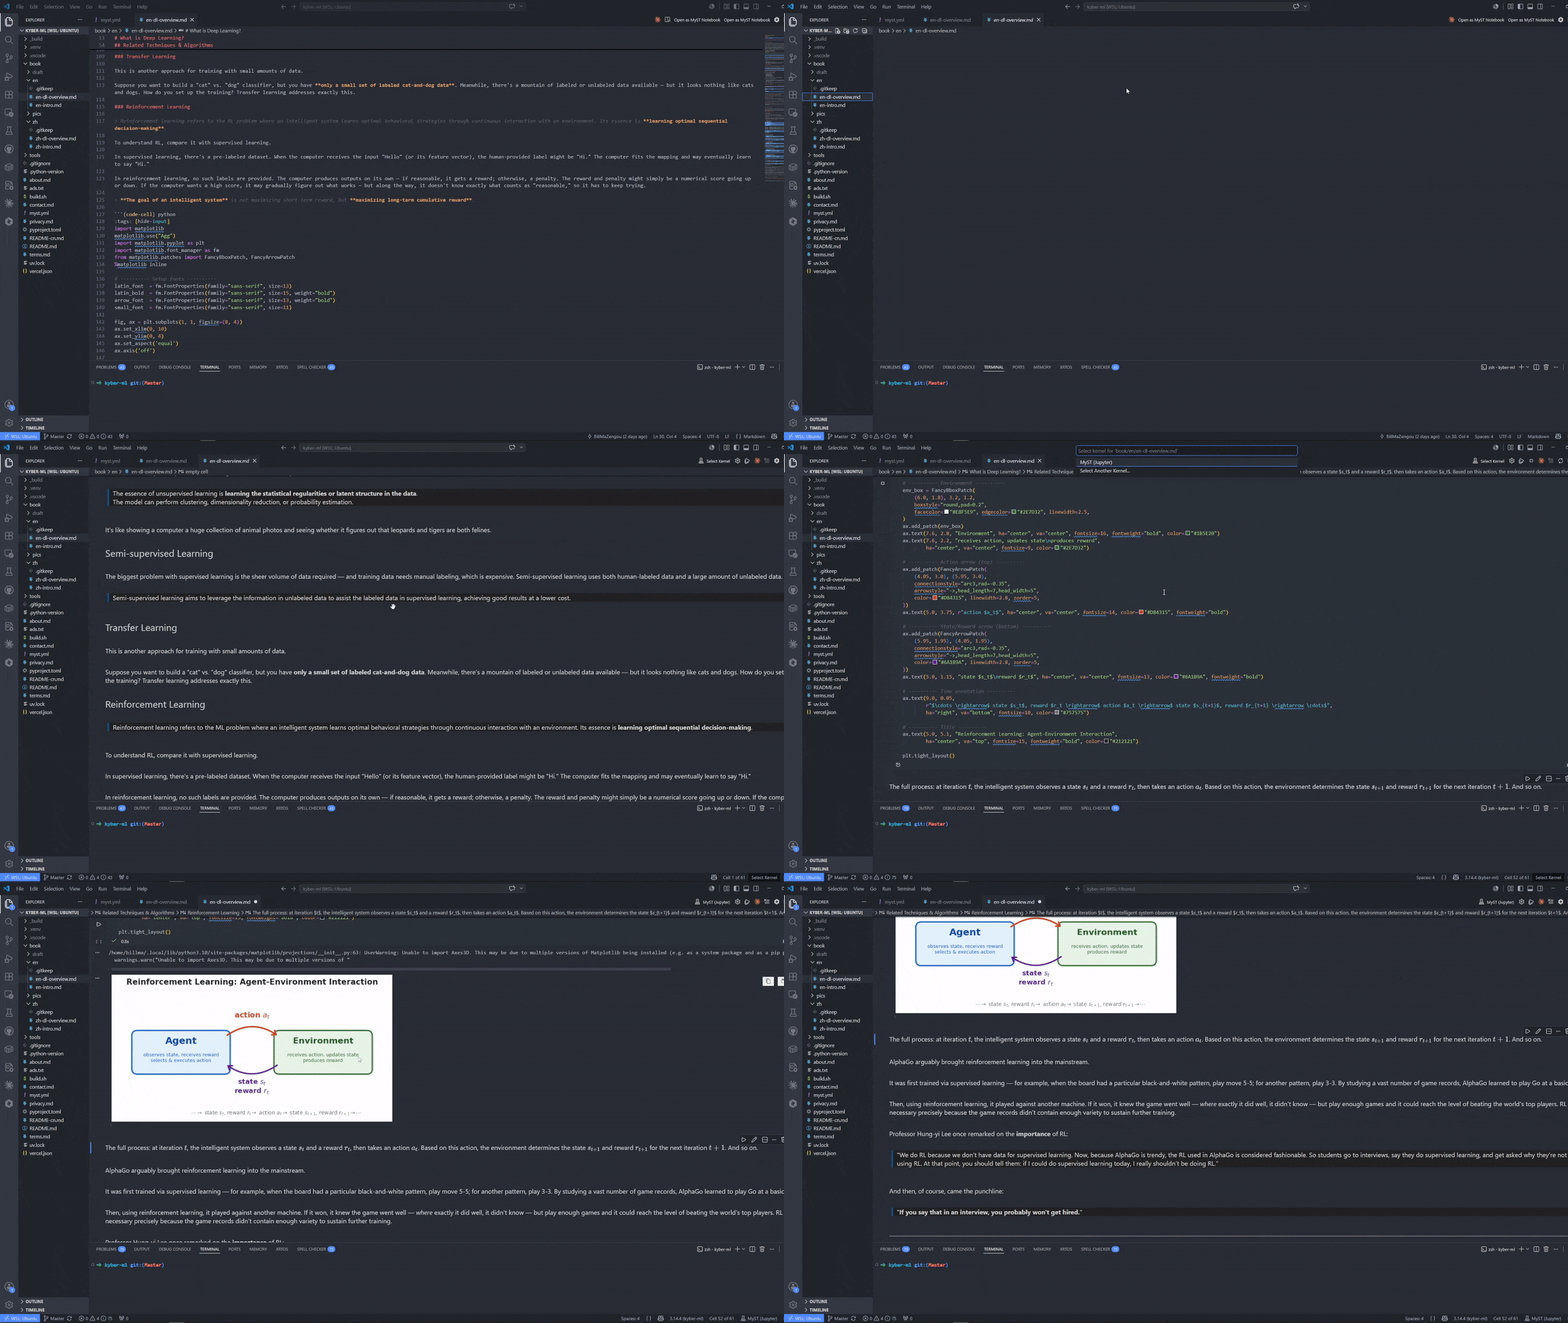
{code-cell} blocks discover your Python environment and stream output live. No Jupyter extension required.
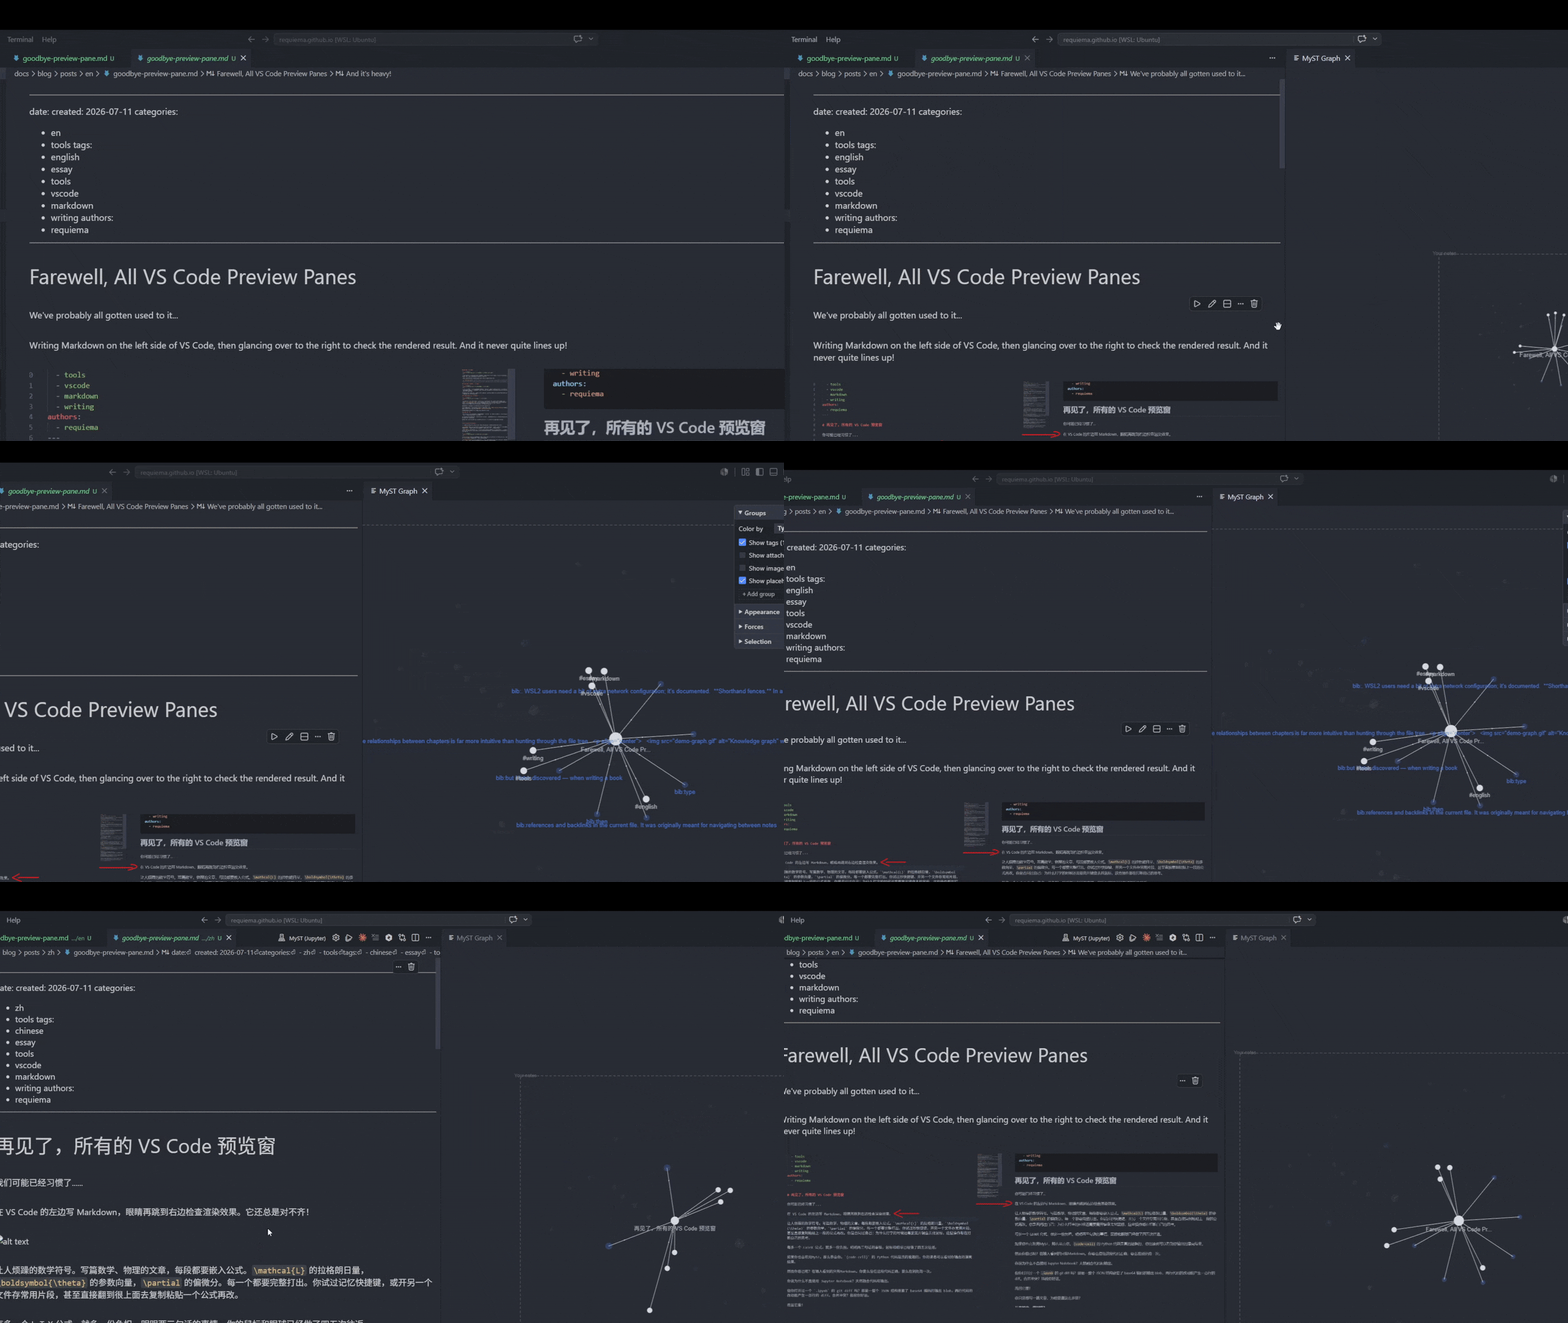
[[wikilinks]] and {cite} references become graph edges. Navigate your book by structure, not by file tree.
MyST Notebook works with your Zotero library to insert {cite}`key` references as you write — one command to configure, then pick and cite without leaving the keyboard.
- Zotero desktop — installed and running (the picker talks to
127.0.0.1:23119, a local server that only exists while Zotero is open) - Better BibTeX — Zotero plugin (Tools → Plugins, search "Better BibTeX for Zotero")
- Citation Picker for Zotero (
mblode.zotero) — recommended alongside MyST Notebook; VS Code will suggest installing both together
Run MyST: Configure Zotero Citations from the Command Palette in a MyST workspace. The command:
- Detects whether
mblode.zoterois installed (offers to install if absent) - Writes the correct
`{cite}`CAYW URL to.vscode/settings.json - Lets you switch between
{cite}/{cite:p}/{cite:t}roles
Insert citations with Alt+Shift+Z — the Zotero picker pops up, select a reference, press Enter.
WSL2 / Windows 10 users: the automated setup will NOT work out of the box — WSL2's NAT prevents reaching Zotero's
127.0.0.1:23119. Follow the WSL2 setup guide before anything else. Windows 11 users can try mirrored networking instead (simpler, not yet verified).
With Zotero running, test the endpoint:
curl -s "http://127.0.0.1:23119/better-bibtex/cayw?format=json"Pick a reference in the Zotero popup → JSON describing your selection is returned. Then test the MyST template — run Alt+Shift+Z in a .md file → a {cite}`key` lands at your cursor.
{cite}`key` is only half the job — the key must resolve against a .bib file for a reference list to appear at build time.
- Auto-export a
.bibfrom Zotero: right-click your collection → Export → Better BibTeX → check "Keep updated" → save as e.g.references.bib - Register it in
myst.yml:project: bibliography: - references.bib
- Build with
jupyter book build --html— the reference list appears per-page, only for works actually cited.
⚠️ Troubleshooting: if the picker says "could not connect to Zotero" but Zotero is running, check thatzotero-citation-picker.portwas saved correctly. Don't press Escape in the picker — it produces the same error message as a dead server. Always press Enter on a selection.
| Key | Action |
|---|---|
| Enter | Split cell at cursor (or newline inside a fence / empty cell) |
| Alt+Enter | Insert a literal newline without splitting |
| Shift+Enter | Run cell and advance |
| Ctrl+Shift+E | Convert current cell to Code |
| Ctrl+Shift+R | Convert current cell to Markdown |
| Ctrl+Shift+D | Insert display-only code block below |
| Ctrl+D | Delete selected cell (when not in edit mode) |
| Ctrl+↑ / Ctrl+↓ | Extend / shrink cell selection (multi-select) |
| Key | Action |
|---|---|
\ inside $…$ or $$…$$ |
Autocomplete LaTeX symbols (snippets for brace commands) |
| Ctrl+Alt+S | Save the selected LaTeX to the math symbol store |
| Ctrl+Shift+M | Open math symbol picker (recently used + saved symbols) |
| Alt+Shift+Z | Open Zotero citation picker |
| Command | Action |
|---|---|
| MyST: Restart Kernel | Restart kernel, clear all state |
| MyST: Interrupt Kernel | Send SIGINT to interrupt a running cell |
myst-notebook/
├── src/
│   ├── extension.ts          # activation entry point
│   ├── mystSerializer.ts     # lossless .md ↔ notebook round-trip
│   ├── mystController.ts     # cell execution orchestration
│   ├── kernelSession.ts      # Jupyter kernel lifecycle
│   ├── cellStatusBar.ts      # ▶ Run button on code cells
│   ├── cellFocus.ts          # single-click cell edit
│   ├── enterSplit.ts         # Enter-key cell splitting
│   ├── mathCompletion.ts     # LaTeX autocomplete
│   ├── core/                 # pure functions: split, serialize, tags, templates
│   └── graph/                # knowledge graph (foam core + webview + VS Code features)
├── renderer/                 # notebook renderer (markdown-it + KaTeX)
├── media/                    # walkthrough images
├── test-fixtures/            # sample MyST workspace for smoke tests
├── .github/workflows/        # CI (build + test) and release (vsce publish)
├── esbuild.js                # bundle script
├── package.json              # extension manifest
└── README.md
- Clicking an already-selected markup cell does not auto-enter edit mode (VS Code API limitation — no public method to detect clicks on rendered webview content). Switch to a different cell, press Enter, or use the cell toolbar Edit button.
- Relative local image paths in
figure/imagedirectives may not resolve in the renderer sandbox. Use absolutehttps://URLs or data URIs. - CRLF line endings are out of scope for v1 (LF assumed).
- Blank-line normalization between blocks is canonicalized to one blank line on first save. Already-canonical files round-trip byte-for-byte.
I write technical documents in MyST, and every existing workflow forced the same compromise: write blind in a plain editor, then run a build to see if it looked right. Preview panes split my attention; Jupyter pulled me into a browser; Quarto and JupyterBook made me stop and compile. None of them let me write the way the document actually reads.
So I built the tool I wanted — the source file is the notebook, rendered in place, no build step, no second window. If you've felt the same friction, this is for you.
| 📧 | mazengou@gmail.com | |
| 🌐 | Personal Site | requiema.github.io |
| 📝 | dev.to | dev.to/requiema |
| 𝕏 | X | x.com/mazengou |
| 👾 | u/Leather_Rip7919 | |
| 🔖 | 掘金 | juejin.cn/user/76300220645242 |
| 📦 | Gitee | gitee.com/requiema |
| 📖 | 知乎 | zhihu.com/people/consilivm |
| 🎬 | Bilibili | 镇魂曲麦 |
| 📱 | 公众号 | 镇魂曲麦 |